.png?w=713&h=135)

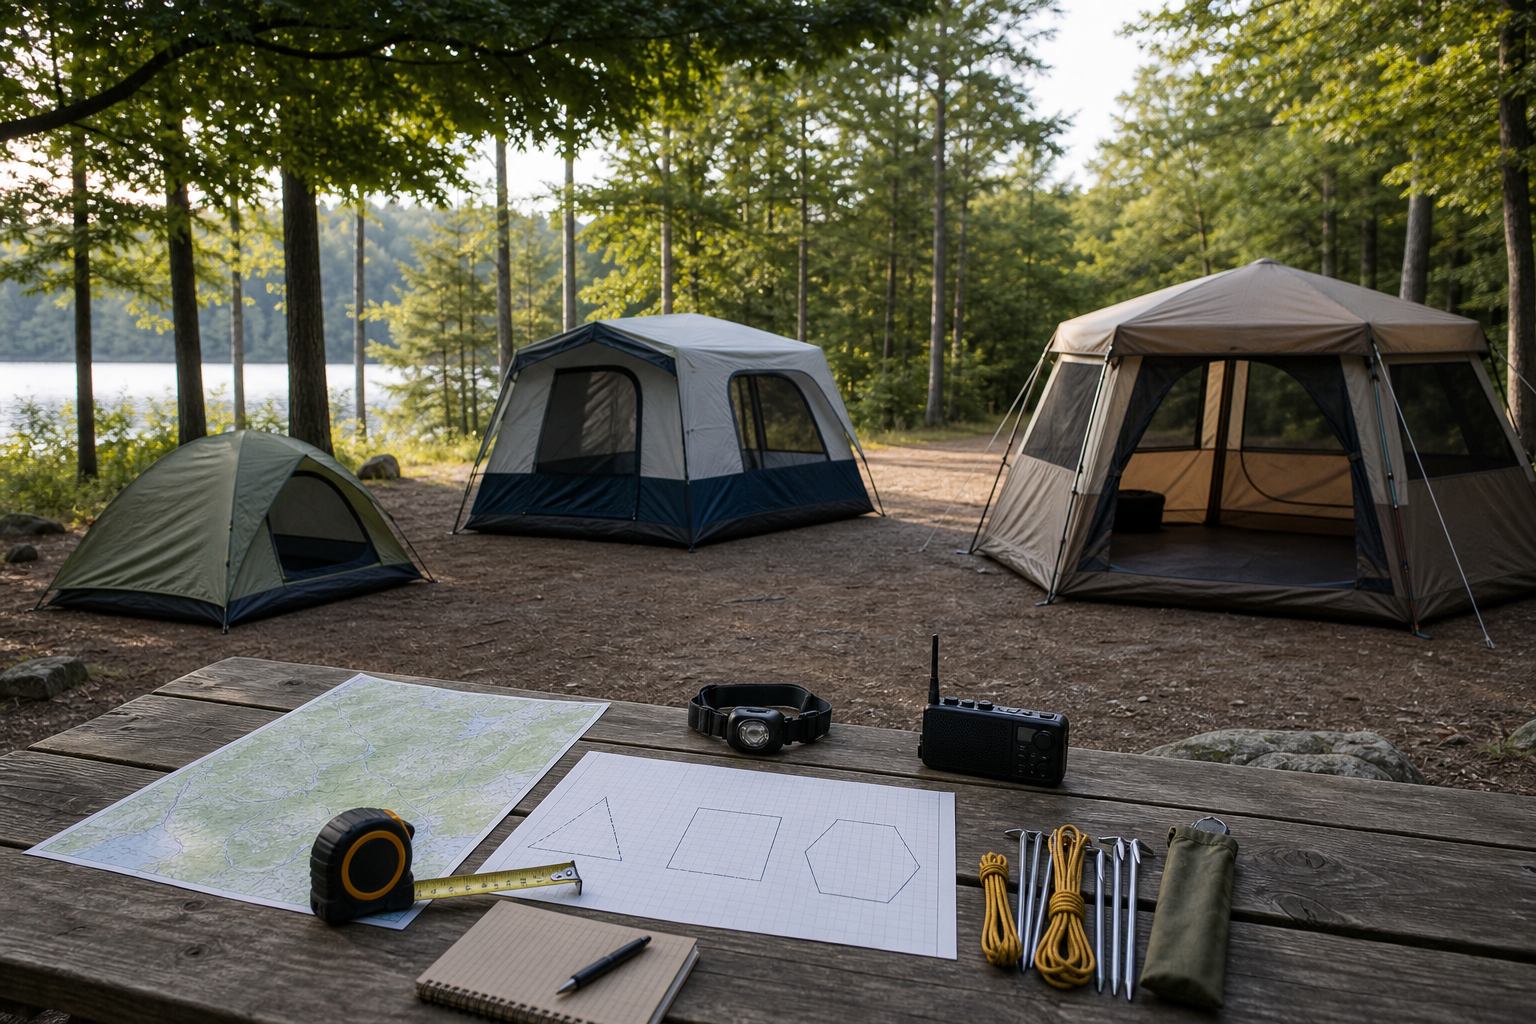
Choose a tent by mapping its listed floor size to your real gear, campsite and exit plan—not by capacity alone. A “1–2 person” or “5–8 person” label is a starting point, not a promise of sleeping comfort. Before buying, compare the listed dimensions with sleeping pads, bags, door clearance and required gear; before leaving, rehearse the complete setup and know where everyone will go if weather changes.
This guide uses current USA Summer Zone listing details to build a campsite decision process. Always confirm the latest product page, campground rules, forecast and manufacturer instructions. No tent should be assumed waterproof, wind-resistant, UV-protective or safe in severe weather based on a title or marketing description.
Four verified tent-size starting points
| Listing | Stated size/capacity | Planning role | What to verify |
|---|---|---|---|
| Portable Lightweight Tent | 106 × 50 inches; 1–2 people | Compact pair or solo plan | Pad layout, vestibule needs, packed variant |
| Large Pop-up Tent | 110 × 78 inches; 2–4 people | Small-group drive-in setup | Full opened footprint, doors/windows, transport size |
| Large 130 × 82 Inch Tent | 130 × 82 inches; 2–3 people | Longer rectangular sleeping layout | Actual usable interior, poles, seams and forecast |
| Large Hexagon Tent | 150 × 87 inches; 5–8 people | Large group or shared shelter planning | 14.5 kg listed weight, 10 m² area and site limits |
Step 1: turn dimensions into a floor plan
Use masking tape at home to mark the listed length and width. Then place every sleeping pad, bag and essential item inside the outline. Leave space to open the door and reach an exit without stepping over another sleeper. If a shape is tapered, hexagonal or has sloped walls, the bounding dimensions may not all be usable at sleeping height.
Capacity labels commonly describe how many bodies can fit in a layout; they do not define personal space, gear storage or comfort. A two-person listing may work for one camper plus gear, while a larger group may prefer substantially more room than a maximum capacity number suggests. Measure the actual equipment and confirm the product diagram rather than converting “people” into comfort.
Step 2: match packed size and weight to the approach
The Portable Lightweight Tent lists different packed weights for material variants, so verify the selected option before comparing it with the 4.5 kg Large Pop-up Tent or the 14.5 kg Large Hexagon Tent. A short walk from a vehicle and a backpack approach are different carrying problems.
Include poles, stakes, guylines, footprint, repair items and packaging in the real load. If anyone must lift the shelter, practice that lift safely before travel. Also confirm that a pop-up or long pole bag fits the vehicle without blocking mirrors or becoming an unsecured object.
Step 3: select the site before unpacking
The National Park Service recommends checking campground rules and walking the site boundaries before choosing tent, cooking and eating areas. Look up for dead branches; avoid low places that may collect water, ravines with flood potential, cliff edges and exposed high points. Use designated pads where required and keep doors and guylines away from the site’s busiest walking path.
Compare the tent’s complete footprint—including guylines and an open door—with the pad, not just the sleeping-floor dimensions. Do not cut vegetation or move protected site features to force a large shelter into place. If the chosen tent does not fit the designated area with safe clearance, use a smaller shelter or another approved site.
Step 4: rehearse setup and pack-down at home
- Inventory the manufacturer-listed poles, stakes, guylines, fly, footprint and repair pieces.
- Read the exact instructions for the selected variant.
- Pitch the tent completely in daylight on an appropriate practice surface.
- Open every door and vent; check that zippers travel without forcing fabric.
- Mark similar poles or sleeves in a reversible, instruction-compatible way.
- Practice an orderly exit with sleeping pads in place.
- Pack it again only when clean and fully dry.
A setup-time claim is not a substitute for rehearsal. Wind, darkness, unfamiliar hardware and a crowded site change the task. NPS guidance specifically recommends practicing at home and making camp before dark so campers can learn the terrain in daylight.
Step 5: plan ventilation without creating a weather promise
The Large Pop-up Tent listing describes doors, windows, corner ventilation and double curtains; the Large Hexagon Tent describes extensive gauze. Those details can inform a comparison, but airflow depends on how vents are used, the site, humidity, occupancy and weather. Follow the manufacturer’s configuration instructions and avoid blocking intended vents with bedding or gear.
Never use a fuel-burning stove, grill, heater or lantern inside a tent or other enclosed shelter. Carbon monoxide is odorless and colorless, and CDC guidance warns that it can cause sudden illness and death. “Ventilated” does not make combustion equipment safe indoors. Keep cooking in the approved outdoor location and follow campground and equipment rules.
Weather is an exit decision, not a tent feature
Check the site-specific forecast before departure and continue monitoring alerts. The National Weather Service is explicit: a tent and an open picnic shelter are not safe during lightning. Identify a substantial enclosed building or hard-topped vehicle in advance, know how long it takes to reach it, and leave early enough to use it. Wait at least 30 minutes after the last thunder before returning outdoors.
For wind, flooding, extreme heat, wildfire smoke or changing restrictions, follow local authorities and campground staff. A listed coating, fabric, pole material or guyline count does not establish safe weather limits. If the forecast or site becomes unsuitable, pack down when it is safe to do so, move to approved shelter or leave. A cancelled night is better than testing marketing language against severe conditions.
Fire and cooking separation
Use only designated fire areas when fires are permitted. NPS campfire guidance says tents, gear and other flammable items should be at least 15 feet away and upwind of the firepit. Local rules or conditions may require more distance or prohibit fires entirely. Keep food storage and cooking arrangements separate from sleeping space according to the park’s wildlife rules.
Never move a fire ring to suit the tent. Instead, place the shelter on an approved level area with the required separation. Keep the exit path free of stakes, cookware and loose bags. At night, use a headlamp and make sure every camper knows the route to the vehicle, restroom or designated emergency location.
A pre-trip tent and campsite checklist
| Question | Pass condition | If it fails |
|---|---|---|
| Does the taped floor hold people and essential gear? | Clear exits and realistic space | Choose a larger layout or fewer occupants |
| Does the complete tent fit the approved pad? | Room for doors, guylines and circulation | Change tent or site |
| Can the group pitch and pack it? | Successful daylight rehearsal | Practice again or simplify |
| Is ventilation unobstructed? | Vents operate per instructions | Rearrange gear and inspect components |
| Is there a real weather exit? | Known building/vehicle route and alerts | Do not rely on the tent; change plan |
| Are fire and cooking areas separated? | Rules and safe spacing met | Move the tent or do not use fire |
Frequently asked questions
Does “for 2–4 people” mean four adults will be comfortable?
No. It is the listing’s stated capacity, not a comfort guarantee. Lay out your pads and gear within the listed dimensions, account for wall slope and doors, and choose more room when the group needs it.
Does a product name containing “waterproof” guarantee a dry tent?
No. Verify the current material specification, seam construction, setup instructions and care information. Pitch quality, wear, ground conditions and weather all matter. This guide makes no waterproofing promise.
Is a tent safe during a thunderstorm?
No. The National Weather Service says tents are not safe lightning shelters. Move to a substantial enclosed building or hard-topped vehicle according to your preplanned route.
Can a camping stove be used inside when vents are open?
No. Do not use fuel-burning equipment inside a tent or enclosed shelter. Open vents do not remove the carbon-monoxide danger.
Choose the footprint, then choose the trip
Start with the verified dimensions, recreate the floor at home, and choose the smallest setup that realistically holds your people and essential gear. Then validate the site, rehearse the pitch, preserve ventilation, separate fire and cooking, and define the weather exit. That process is more useful than treating capacity or material labels as guarantees—and it produces a campsite the group can understand before sunset.